What is email accounts in cPanel?
The system creates the cPanel account’s system user email account when your hosting provider creates your cPanel account. It uses the account@domain.com format, where account is your cPanel account name and domain is your main domain. The username and password are the same as your cPanel account’s.
Table of Contents
Login to cPanel: Log in to your cPanel account using your username and password. You can access cPanel through your web hosting provider.
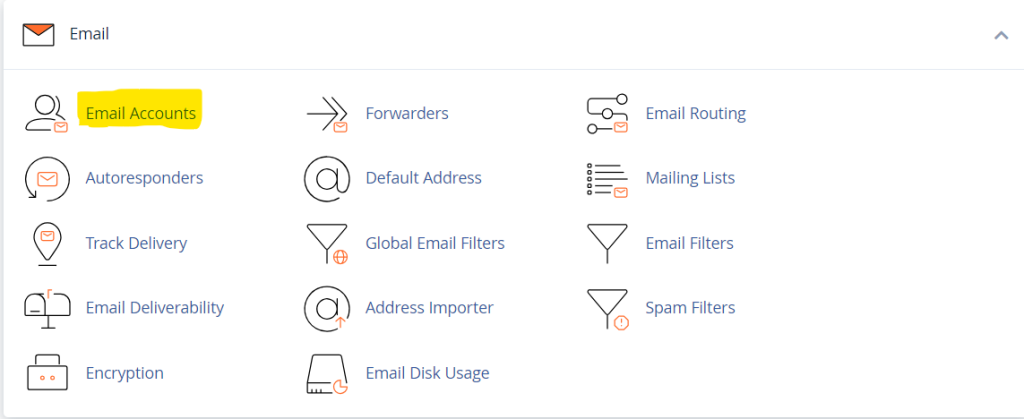
Locate the “Email” Section: Once logged in, look for the “Email” section in cPanel. The location may vary depending on your cPanel theme, but it’s commonly found on the main dashboard.
Click on “Email Accounts”: Find and click on the “Email Accounts” or “Email” option. This will take you to the page where you can manage your email accounts.
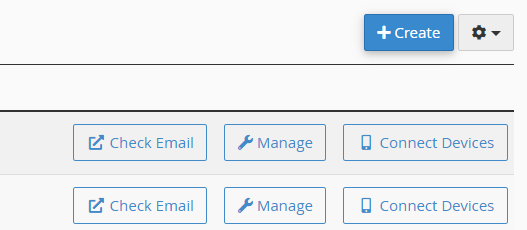
Click Create. A new interface will appear and choose the domain name

Choose a Domain: If you have multiple domains associated with your cPanel account, select the domain for which you want to create the email account. enter the user name and you can generate new password
In the Password section, perform one of the following actions:
- Generate Password: Enter a secure password in the Password text box. A secure password does not contain a dictionary word. It must also contain uppercase and lowercase letters, numbers, and symbols. The system will evaluate the password that you enter on a scale of
100. A weak password has a0value, while a very secure password has a100value. You can also perform the following actions:- Click the reveal icon (
 ) to display the entered password.
 - Click Generate to let the system create a secure password for you. The system will reveal this password.
- Click the more icon (
 ) to select password complexity settings. The system will use these settings when it generates a new password.
- Click the reveal icon (
After generating the password click the create option
- Email: Enter the desired email address (e.g., john@example.com).
- Password: Choose a secure password for the email account.
- Password (Again): Re-enter the chosen password for confirmation.

Mailbox Quota: Set the mailbox storage space. You can choose an unlimited quota or set a specific size.
Important
- You cannot enter
cpanelas an account name when you create an email account. - You cannot rename an email account or change its address after you create it. However, you can use cPanel’s Forwarders interface (cPanel » Home » Email » Forwarders) to create a new address that forwards all mail to the existing account.
Access Webmail (Optional): Many cPanel installations provide a webmail interface. You can access this interface by clicking on the “More” option next to the email account you just created and selecting “Access Webmail.” Here, you can check and send emails through your web browser.
Now, you’ve successfully created an email account in cPanel. You can configure this email account in your preferred email client (e.g., Outlook, Thunderbird, or a mobile app) using the provided settings (IMAP or POP3, SMTP). If you have any issues or specific questions related to your hosting provider’s cPanel setup, it’s recommended to refer to their documentation or contact their support for assistance.
Use Webmail to check your newly created email account
To check your email account through Webmail, perform the following steps:
- Navigate to
https://example.com:2096in your preferred browser, whereexample.comrepresents your domain name. - Enter the username part of your email address in the Email Address text box (for example,
usernamefor theusername@example.comaddress). - Enter your password in the Password text box.
- Click Log in.
For more information, read our The Webmail Interface documentation.