Table of Contents
Log in to cPanel:
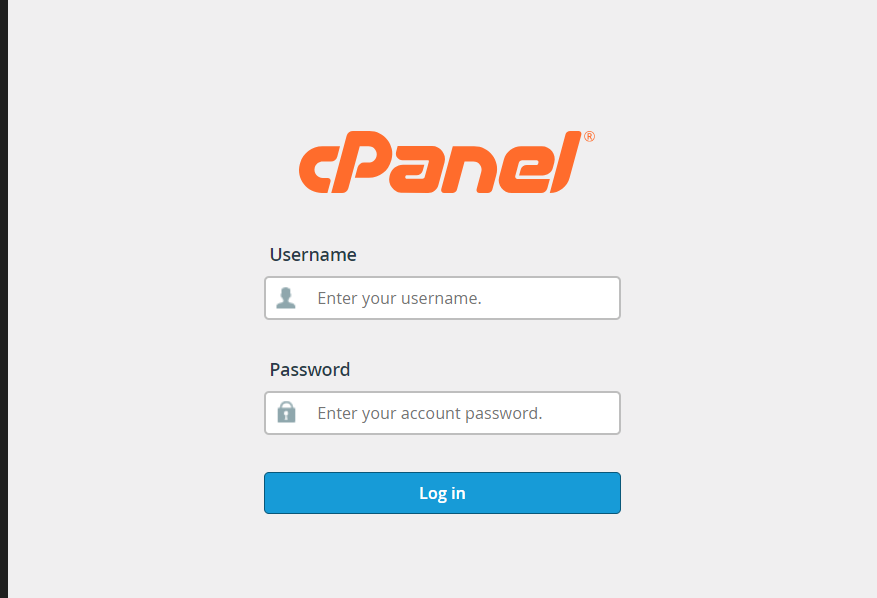
- Open your web browser and navigate to your cPanel login URL (usually
https://yourdomain.com/cpanel). - Enter your cPanel username and password to log in.
Access Backup Wizard:
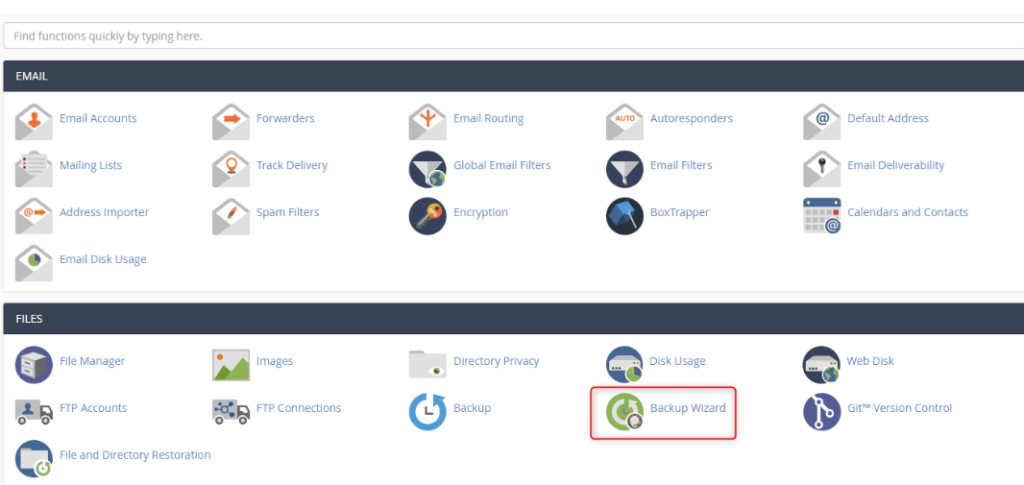
- Once logged in, look for the “Files” section in cPanel.
- Click on the “Backup Wizard” icon or link to access the backup tool.
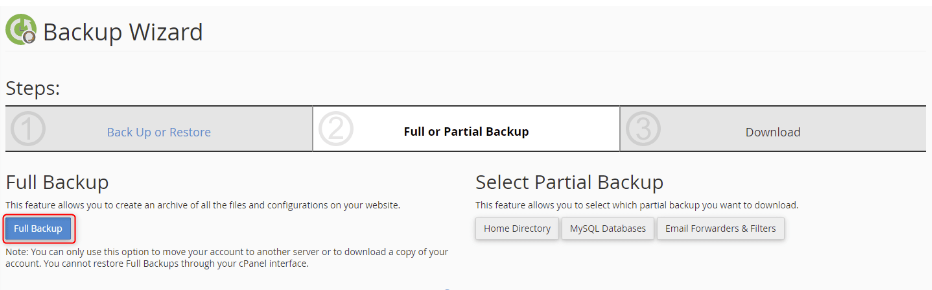
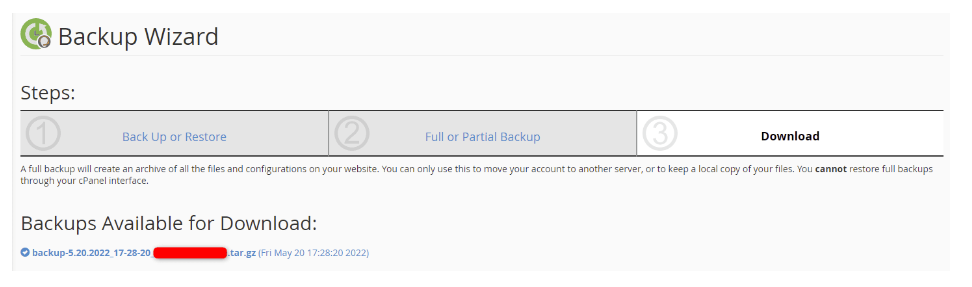
From the main backup screen, you can backup or restore the files in your hosting account. Click Back Up.

Backup Type:
- In the Backup Wizard interface, you’ll typically see options for full or partial backups. Choose the type of backup you want to create:
- Full Backup: This option creates a complete backup of your cPanel account, including files, databases, email accounts, and settings.
- Partial Backup: This option allows you to select specific components (e.g., home directory, MySQL databases, email forwarders) to include in the backup.
Under Backup Destination, select where your backup will be stored from the dropdown menu. Under Email Address, choose to enter an email address for a backup completion notification or not to receive a notification at all. Once the selections are complete, click Generate Backup.
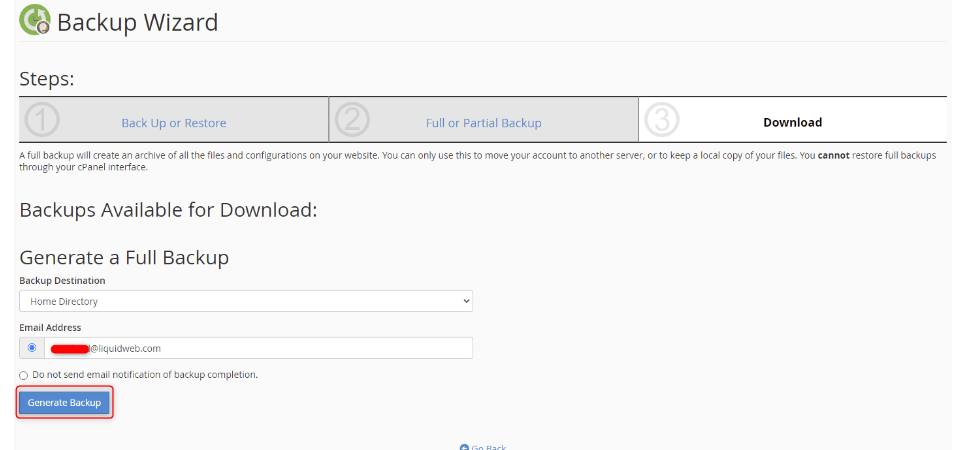
You will receive a blue confirmation that the full backup is in progress. If you chose to have an email sent, the system will advise you of the email you chose

Backup Destination:
- Select the backup destination where you want to store the backup files. cPanel offers several options, including:
- Home Directory: Store the backup files in your account’s home directory.
- Remote FTP Server: Transfer the backup files to a remote FTP server for off-site storage.
- Remote FTP Server (Passive Mode): Similar to the above option, but uses passive mode for FTP connections.
- Remote FTP Server (Active Mode): Similar to the above option, but uses active mode for FTP connections.
- SCP (Secure Copy Protocol): Transfer the backup files securely to a remote server via SCP.
- FTP: Transfer the backup files via standard FTP protocol.
- Email: Receive the backup files as email attachments (only suitable for small backups due to email size limitations).
Initiate Backup:
- After selecting the backup type and destination, click on the “Generate Backup” or “Backup” button to initiate the backup process.
- Depending on the size of your website and the selected backup options, the backup process may take some time to complete. You may receive a notification once the backup is finished.
Verify Backup Completion:
- Once the backup process is complete, verify that the backup files have been created successfully and stored in the designated backup destination.
- You can navigate to the specified backup directory or destination to view the backup files and ensure they are accessible.
By following these steps, you can create a backup of your website in cPanel, helping to protect your data and ensure you have a copy of your website files and databases in case of emergencies or data loss incidents. It’s essential to regularly create backups and store them securely to mitigate the risk of data loss and maintain the integrity of your website.